DTF BUILD YOUR OWN GANG SHEET
DTF BUILD YOUR OWN GANG SHEET
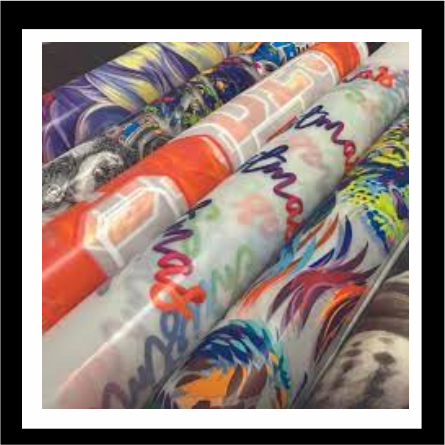
DTF Direct to Film Full Color Transfers are soft full color transfers that can be pressed on most fabrics! There are low quantity minimums on these transfers, so you can order small orders to super large orders. London Ink Full Color DTF Transfers are suitable for cotton, poly, cotton, polyester, and most fabrics with recommended test press.
- Full Color, High Resolution Graphics of .eps, or .png of 300 dpi are required to result in a vivid full color DTF Transfers.
- Copyright material is NOT permitted (without written documentation).
- Your DTF Transfer will be printed in the size designed.
- Great for small orders.
- No Weeding Required.
- Suitable for most fabric types.


DTF TRANSFER INSTRUCTIONS:
Essential Equipment
- Heat Press Machine
- Direct-to-Film (DTF) Transfers
- Garment for Transfer
- Teflon Sheet or Parchment Paper (Optional)
Step 1: Preparing the heat press
Configure your heat press temperature within the range of 285-325 degrees Fahrenheit.
This temperature spectrum is optimal for most DTF transfers, ensuring a robust bond without causing any harm to the transfer or the garment.
Set the Pressure to a medium firm setting.
Suggested Settings:
Cotton: 280 - 325°F - 10-15 Seconds
50/50 Blends: 300 - 325°F 10-15 Seconds
Synthetic & Polyester Fabrics: 280 -300°F - 10-15 Seconds
This may require some testing to achieve your ideal settings.
Step 2: Pre-Press of Garment
Place your chosen garment on the heat press. Pre-Press the garment for 5-7 seconds.
This initial pre-press removes any moisture from the garment to give optimal results of the DTF Transfer.
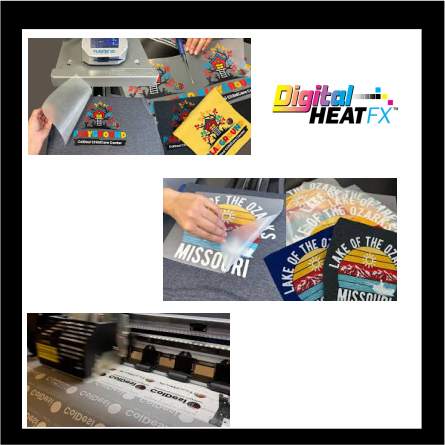
Step 3: First Press of DTF Transfer
Carefully position the DTF transfer in your desired location on the garment.
Press the garment for 10 -15 seconds; this initial first press firmly secures the transfer onto the fabric.
Step 4: Peeling
Gently peel off the film from the transfer either cold or warm. This crucial step unveils the vibrant design on your garment. Alternatively, you can opt for a cold peel!
*If the transfer does not fully release from the film carefully press for another quick press, put aside and peel cold.
Step 5: Second Press (Optional, yet Recommended)
For enhanced durability and a smoother finish, lay a Teflon sheet or parchment paper over the transferred design. Press again for an additional 5-7 seconds.
This second press reinforces the bond, ensuring the transfer is thoroughly integrated with the garment.
Step 6: Final Touch
Retrieve the garment from the press and allow it to cool.
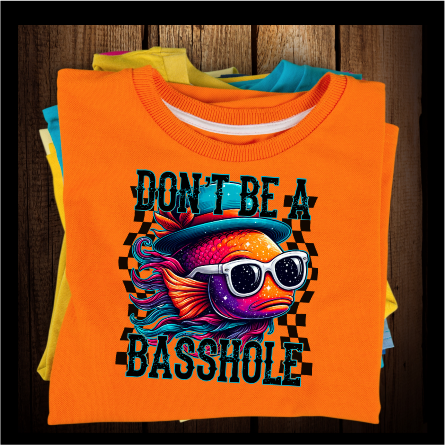
Your DTF transfer Garment is now ready!
Success Tips!
- Premium Graphics: Graphics of 300 dpi will ensure vibrant colorful results.
- Premium DTF Transfers: Always opt for high-quality DTF transfers for optimal results. Cheapest is not always the best.
- Uniform Pressure: Guarantee that your press applies consistent pressure across the entire transfer to avoid uneven results.
- Trial Runs: Conduct a few test runs with different garments to discover the perfect balance of heat, pressure, and time.
Conclusion
Mastering DTF heat pressing, armed with the right tools and settings, guarantees professional results on your garments.
Whether you employ an air compressor, electric, or manual heat press, adhering to these steps will yield vivid and resilient prints.
Remember, perfection comes with practice, so don't hesitate to experiment and refine your approach to suit your specific needs.